
Search is the fastest way to move from a busy traffic picture to one aircraft you can actually inspect. Use this guide after the AO Quickstart when you want a cleaner search and selection workflow.
In this guide, you will learn how to:
- open
ATC Search - distinguish watchlist, recent searches, and live results
- search by callsign
- read the result row before selecting
- confirm the selected aircraft across the map, detail panel, and flights table
Step 1. Open ATC Search
Open the search panel from the left rail. Keep the search type set to Aircraft when you want live aircraft, callsigns, or squawk-related target matches.
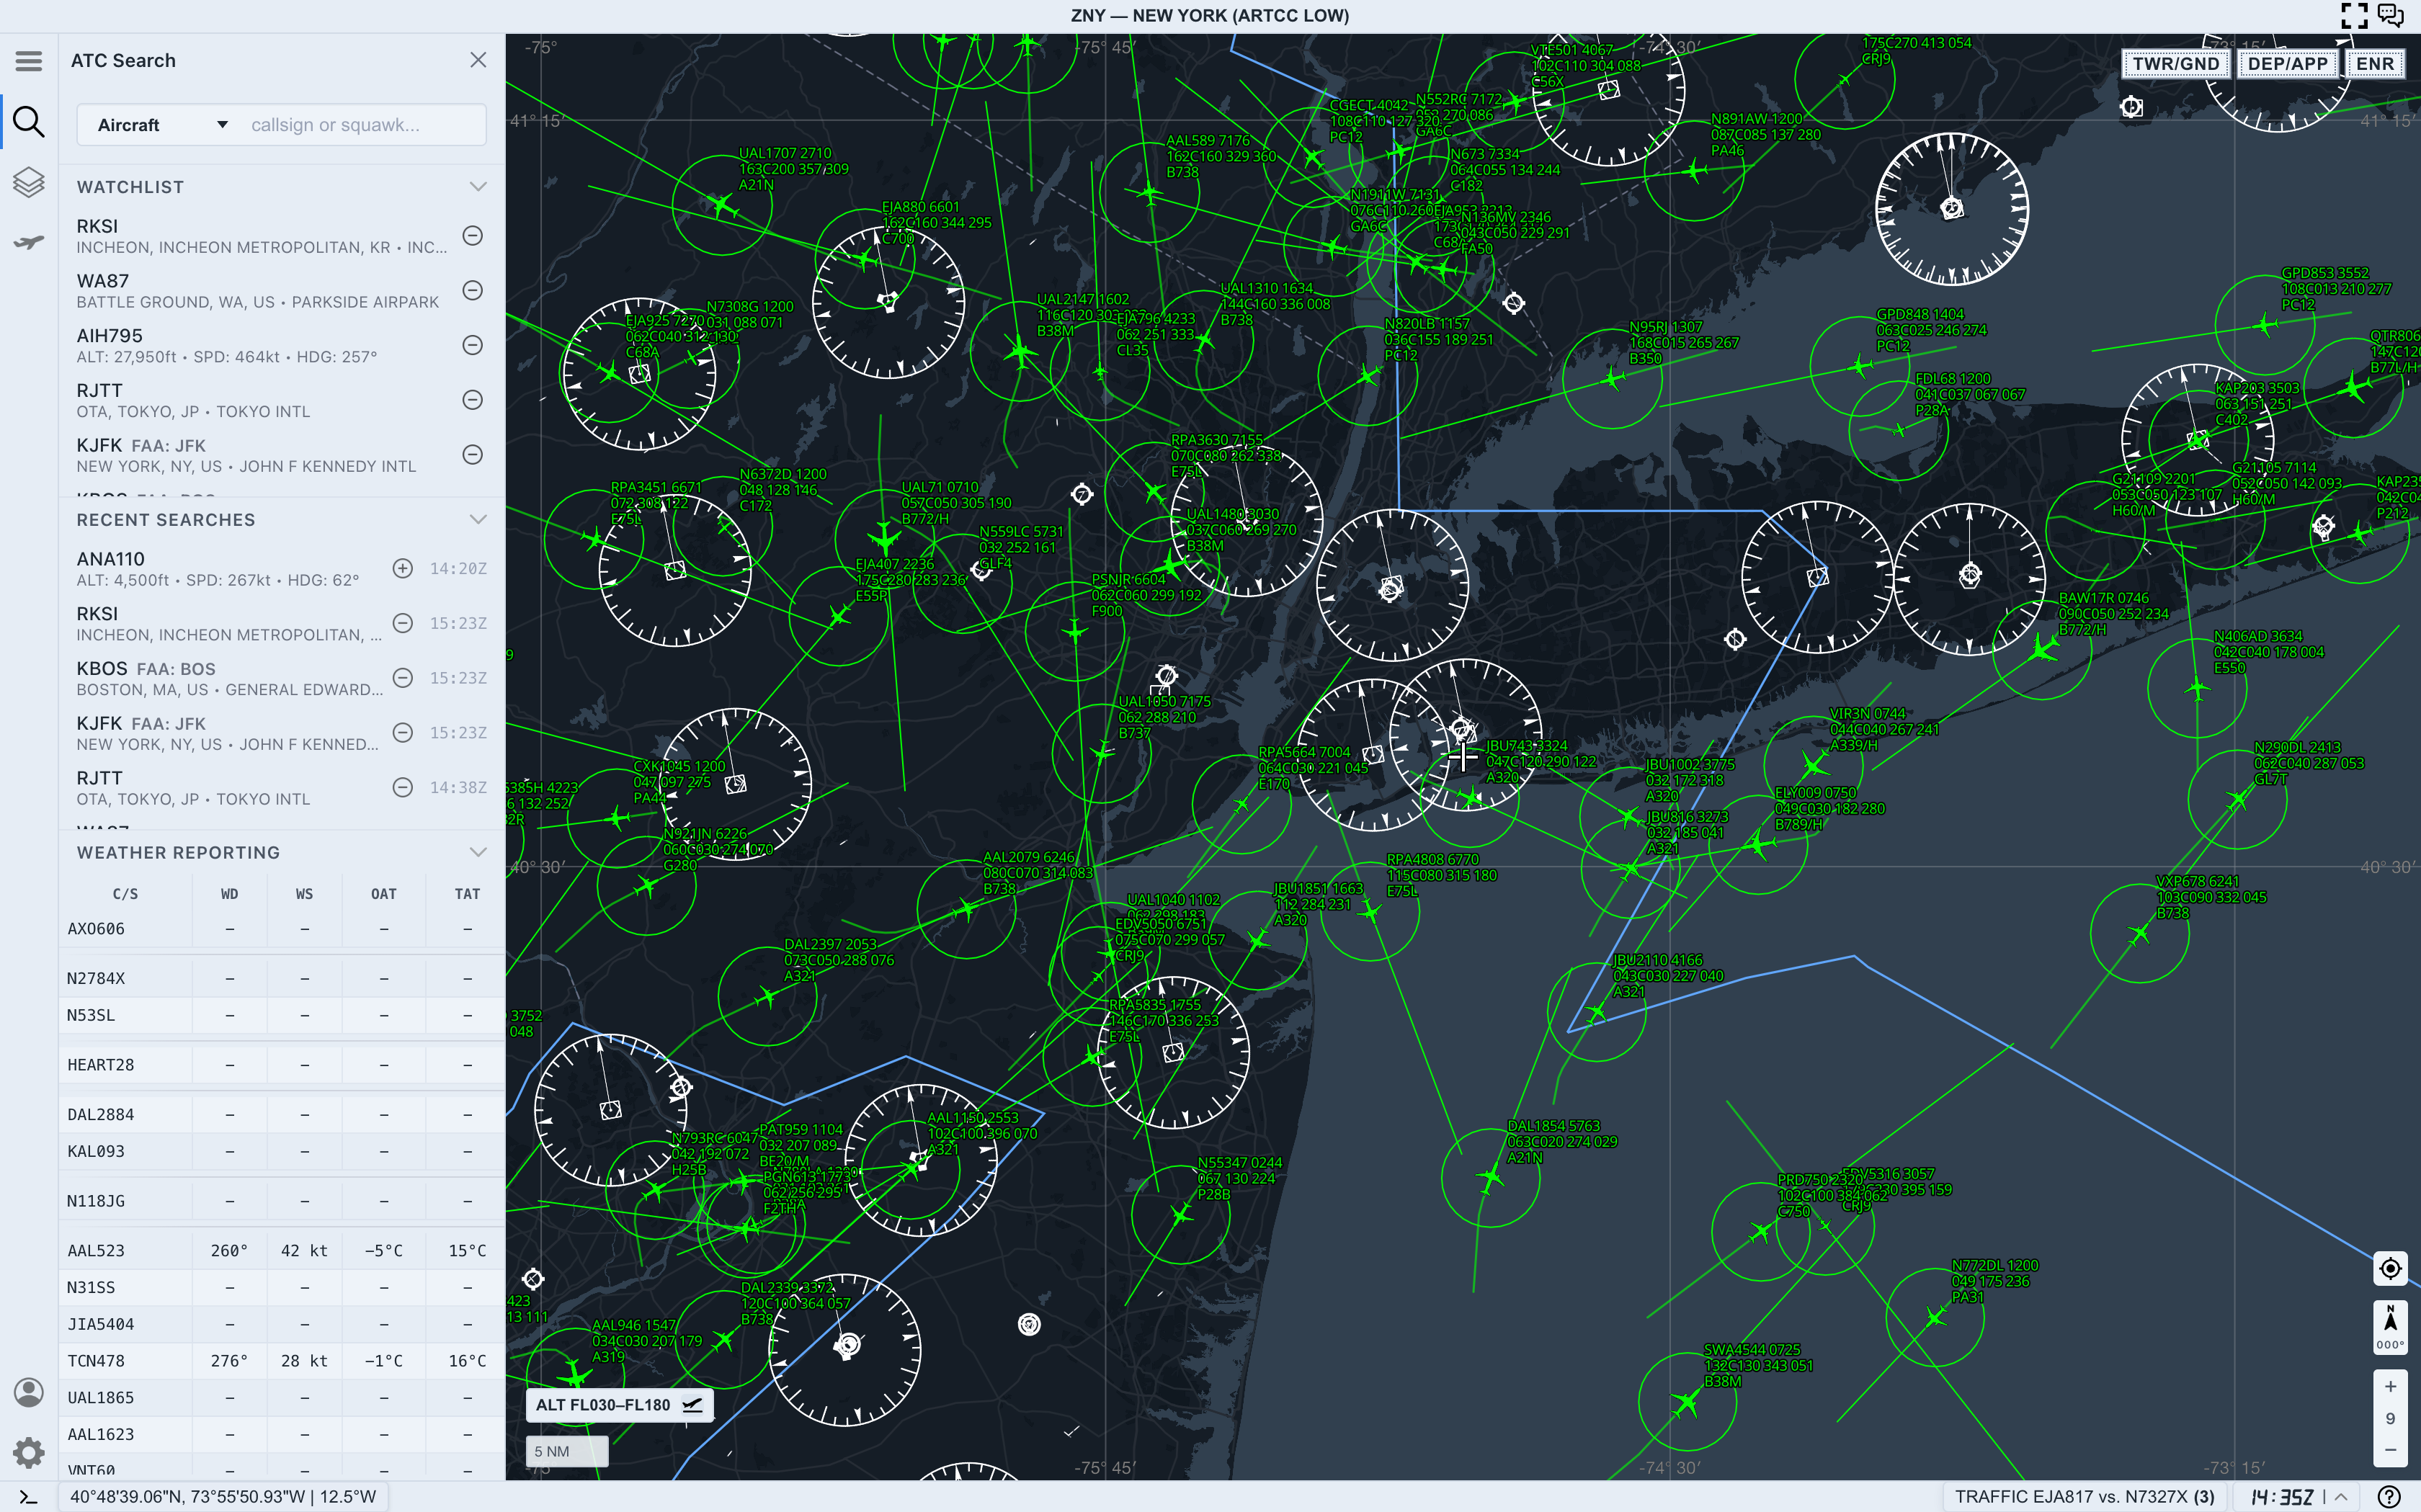
The search panel has a few regions:
- The input row sets the search type and query.
Watchlistkeeps saved airports, aircraft, and locations close at hand.Recent Searchesshows previous searches and quick actions.- Weather reporting appears below when AO has nearby traffic or reporting context.
For aircraft selection, start with the input row. The other sections are helpful, but they are not required for the basic flow.
Step 2. Search by callsign
Type a callsign or aircraft identifier into the search field. In this example, AAL174Q returns one live result.
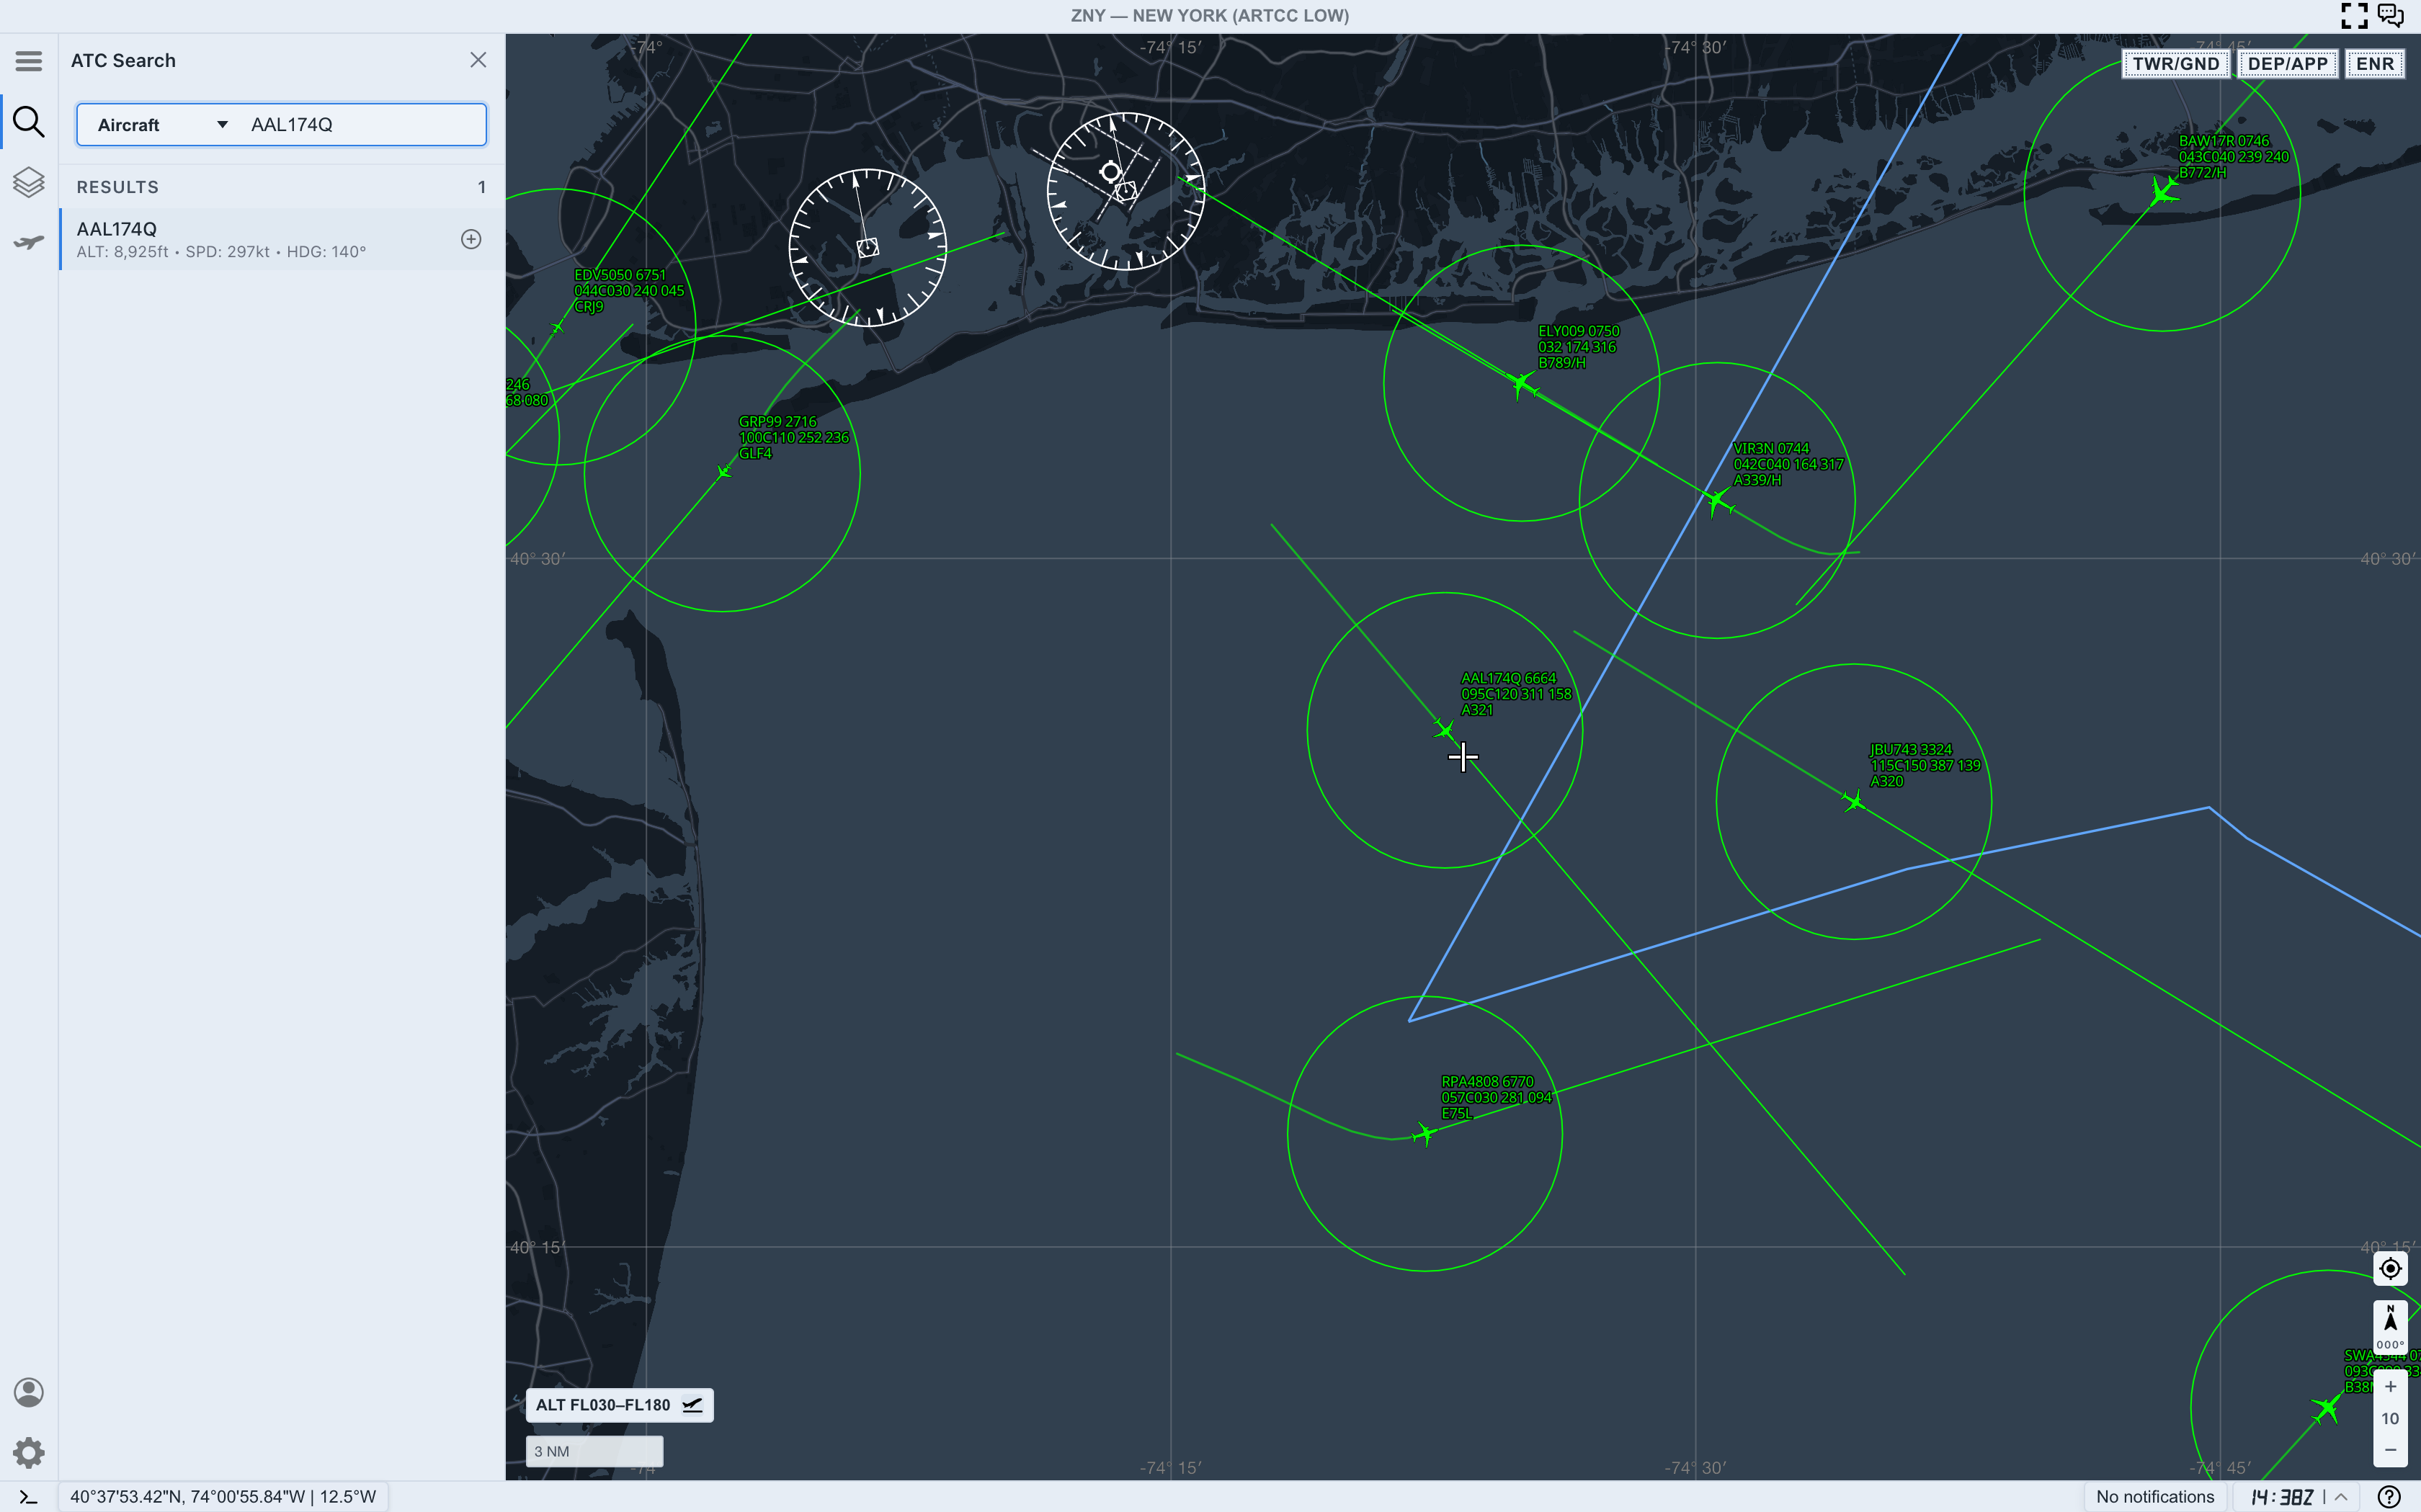
Read the result row before selecting it:
ALTgives the reported altitudeSPDgives the current ground speedHDGgives the current heading or track context- the action button on the right adds or selects the aircraft
This quick read helps you avoid selecting the wrong target when the map is crowded.
Step 3. Select the result
Select the result row or its action button. AO moves the workflow from search into target inspection.
When selection succeeds, AO highlights the aircraft on the map and opens the target detail panel automatically.
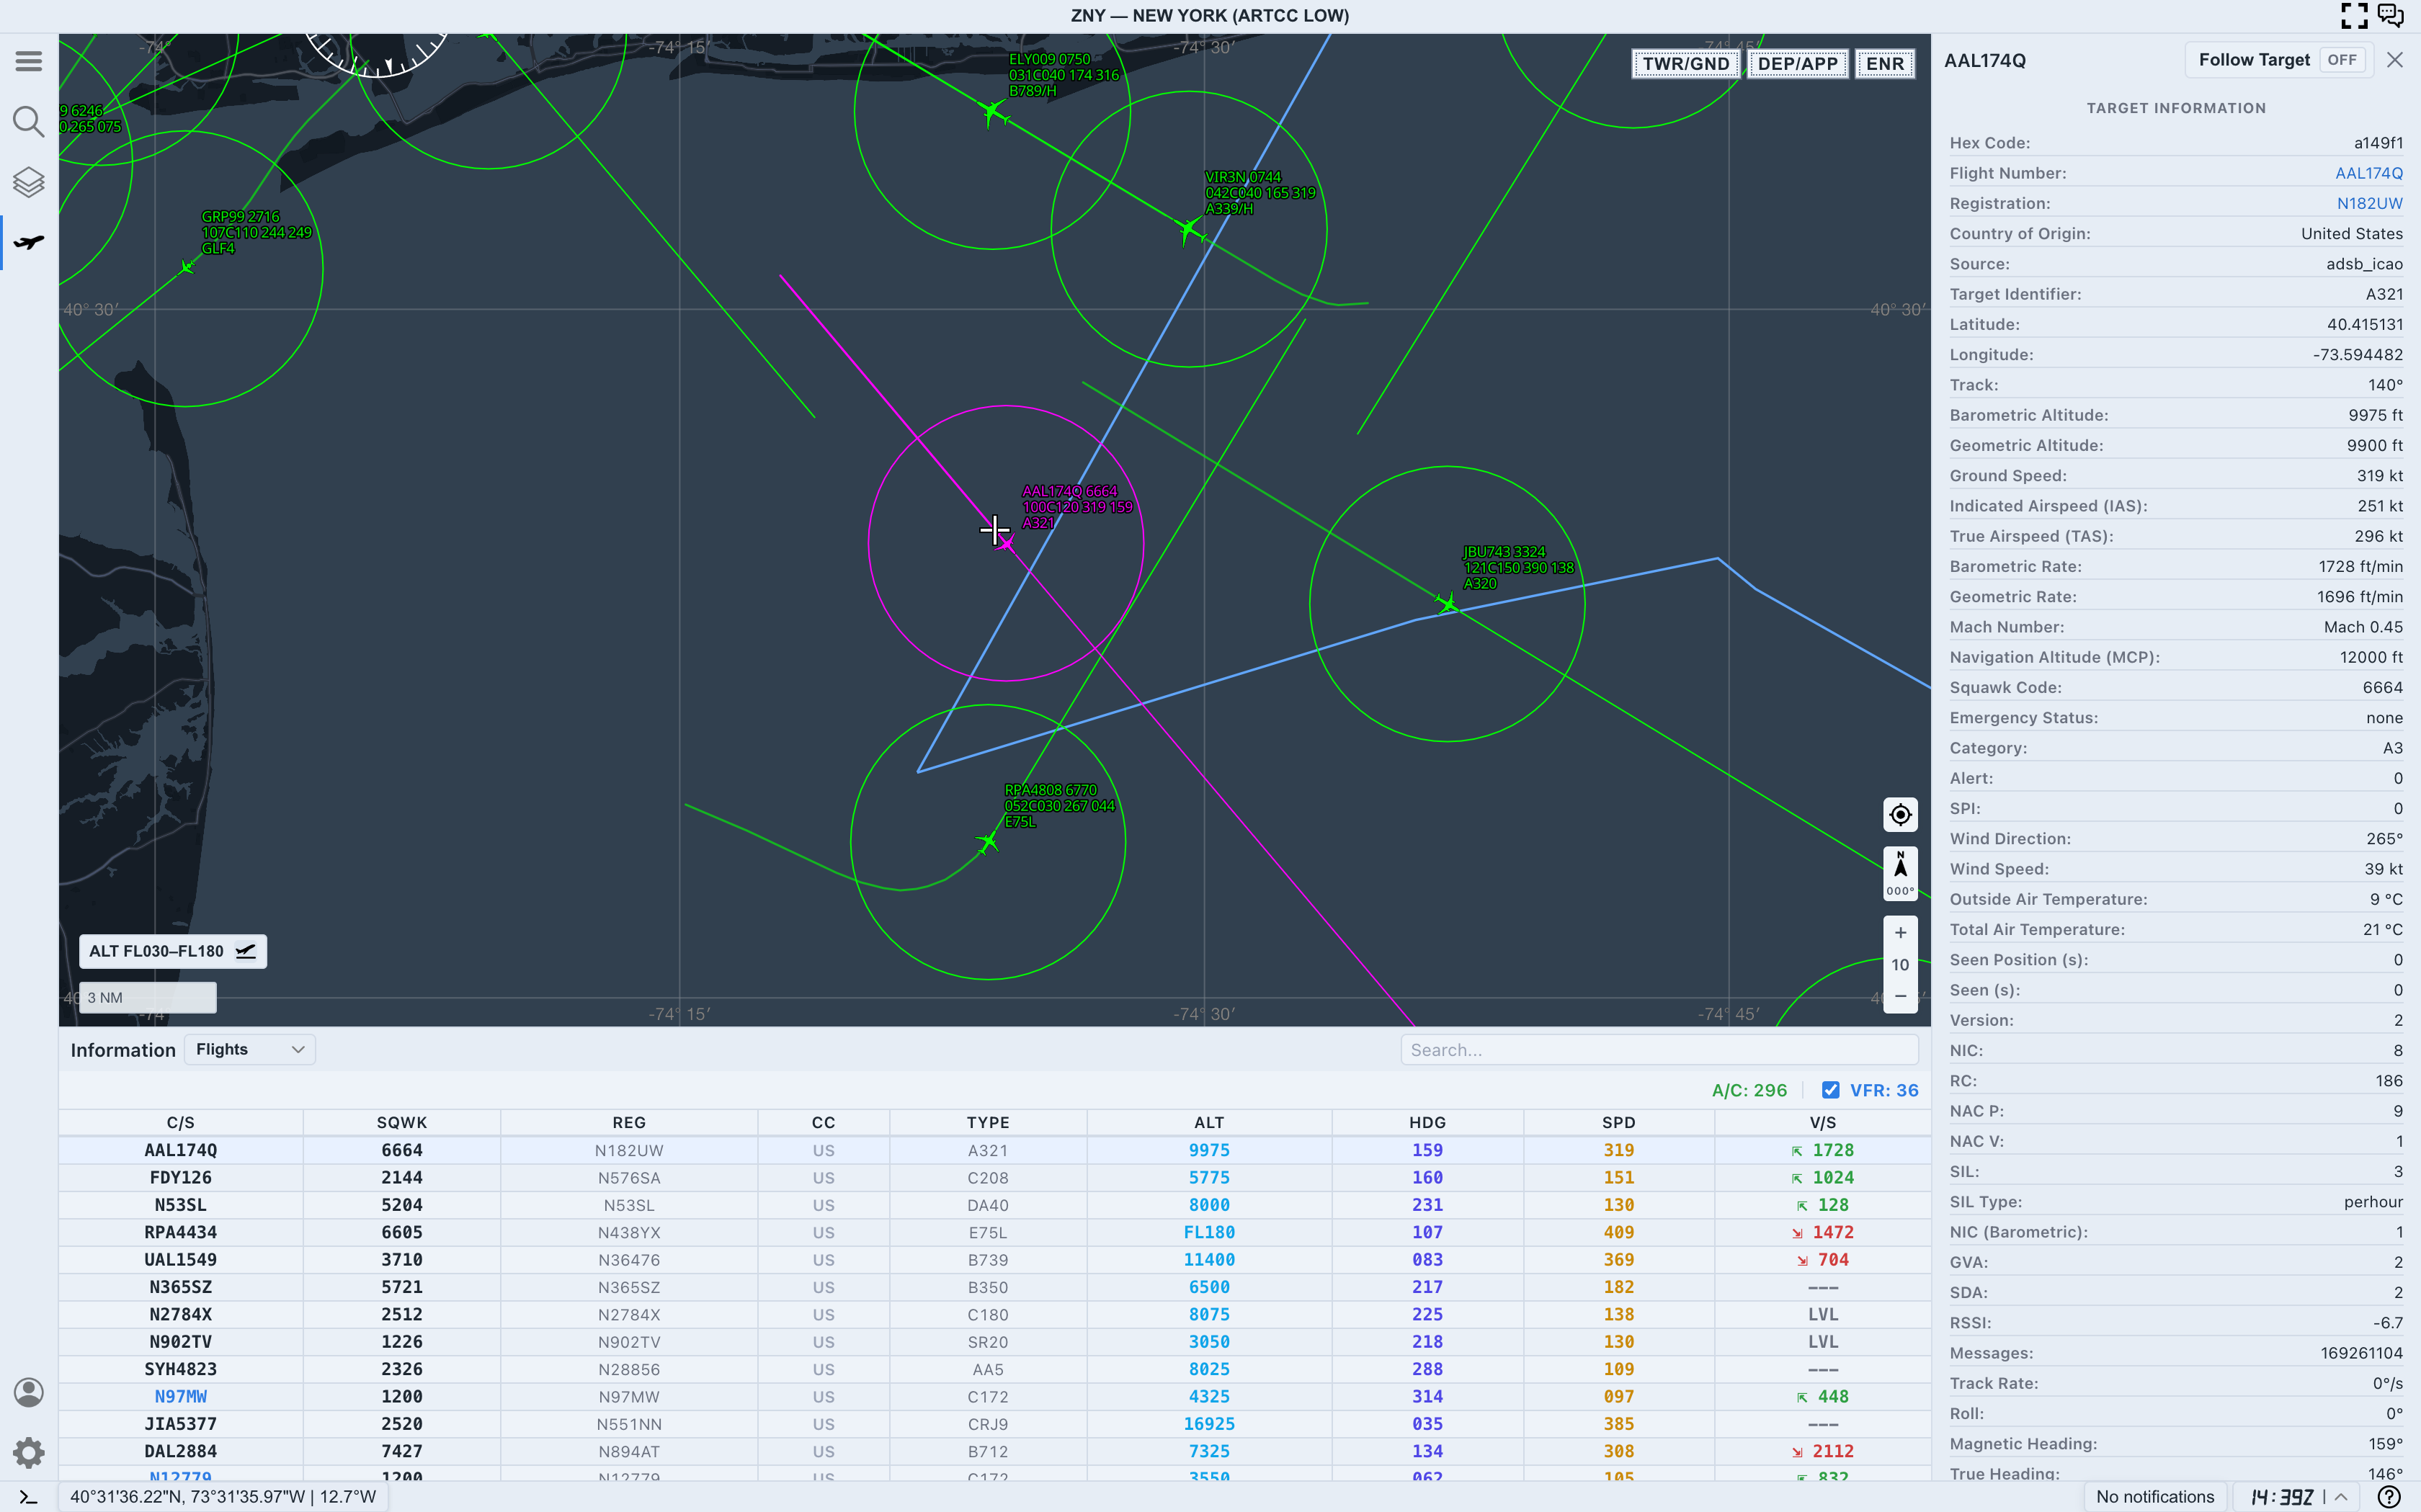
Use the selected color and label on the map as your anchor. In a busy area, this is more reliable than trying to remember where the result row was.
Step 4. Confirm the active aircraft
Before reading deeper data, confirm that all three surfaces agree:
- The map label shows the same callsign you searched.
- The right-side target panel shows the same
Flight Number. - The bottom
Flightstable includes the selected aircraft in context.
If those do not agree, clear the search or select the target again from the map.
Step 5. Read the first target fields
Once the correct aircraft is active, start with these fields:
Flight Number: confirms the selected callsignHex Code: confirms the aircraft identity when callsigns changeSource: tells you where the traffic record came fromBarometric Altitude: gives the primary altitude readGround Speed: gives movement speed over the groundTrack: shows direction across the mapSeen: shows how fresh the position data is
Treat these as a group. A useful target read needs identity, position, motion, and freshness.
Step 6. When search feels wrong
Live traffic changes constantly. A callsign that worked a minute ago may disappear from the feed, leave the current area, or stop matching the current query.
If search does not return the aircraft you expect:
- confirm
Live Trafficis on - check the spelling of the callsign
- try a shorter prefix if you know only part of the identifier
- look for the aircraft label directly on the map
- use
Recent Searchesonly as a shortcut, not proof that the aircraft is still live
If no rows appear, treat the query as having no live match in the current traffic context.
Next step
After you can search and select reliably, continue with AO Guide: Reading Target Details for a deeper look at altitude, speed, track, vertical rate, and freshness.